A "lost art" is only lost if you don't seek to learn it.
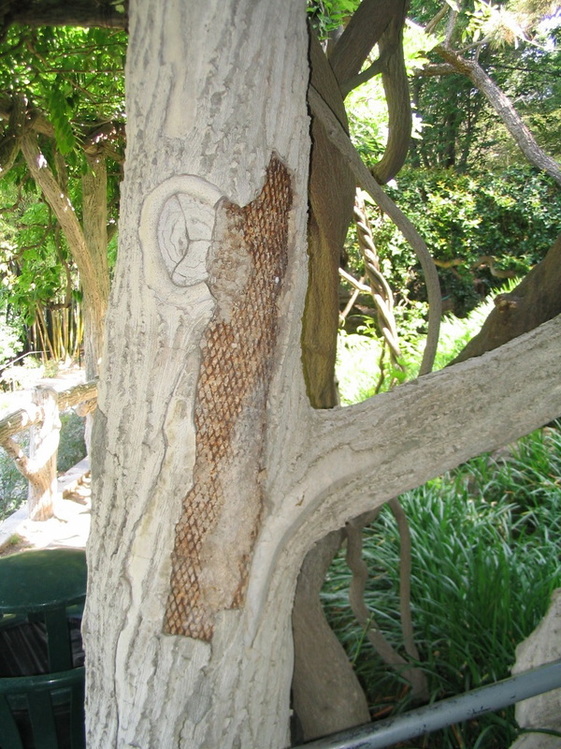
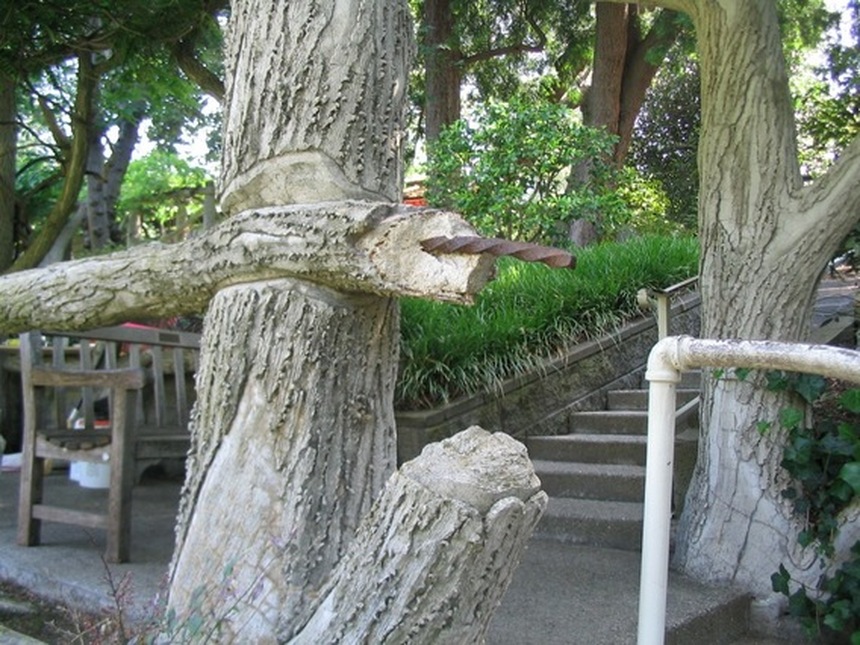
Inside the ninety year old faux bois concrete, the steel has slowly decayed.
As the concrete absorbs moisture from rain or sprinklers, water has been trapped in the voids that were left in the original construction.
Over time, minerals in the first concrete mix have collected around the steel, but only in some places.
It rusts where water has been able to collect.... in voids left around the steel.
It wasn't a fluid pour like we would use today or a substantial form to support concrete placement.
It was a steel mesh "basket" wired to a twisted steel bar.
An "easy to place" dry mixture that filled it 100 years ago ago, has now stabilized by it's own nature, absorbing water and then drying out, moving the calcium through it, usually filling voids around the steel and correcting the problem. Most of it has no problems.
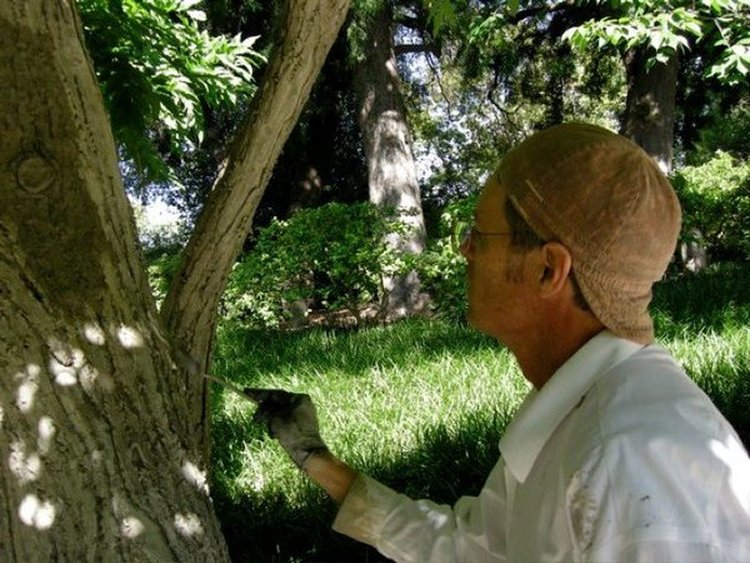
The structure is not at risk. I find the failed material (usually only the outer sculpted "skin") by listening for a hollow sound, tapping with a metal tool. When it sounds right, the tool "rings" indicating sound material.
The sound material will go forward in time without my help.
The hollow "unsound" material is removed and replaced using similar techniques, but now I am informed by what made it fail. Using better practices for the repairs, I can avoid leaving any air pockets or voids within the new work. I am using modern concrete (mortar or grout), acrylic admixtures, fibers, and all the current best practices that I can discover. I will continue learning.
My work, is to figure out how it was originally done,
determine why it failed, and understand how to stabilize and correct it.
Then I can make something.
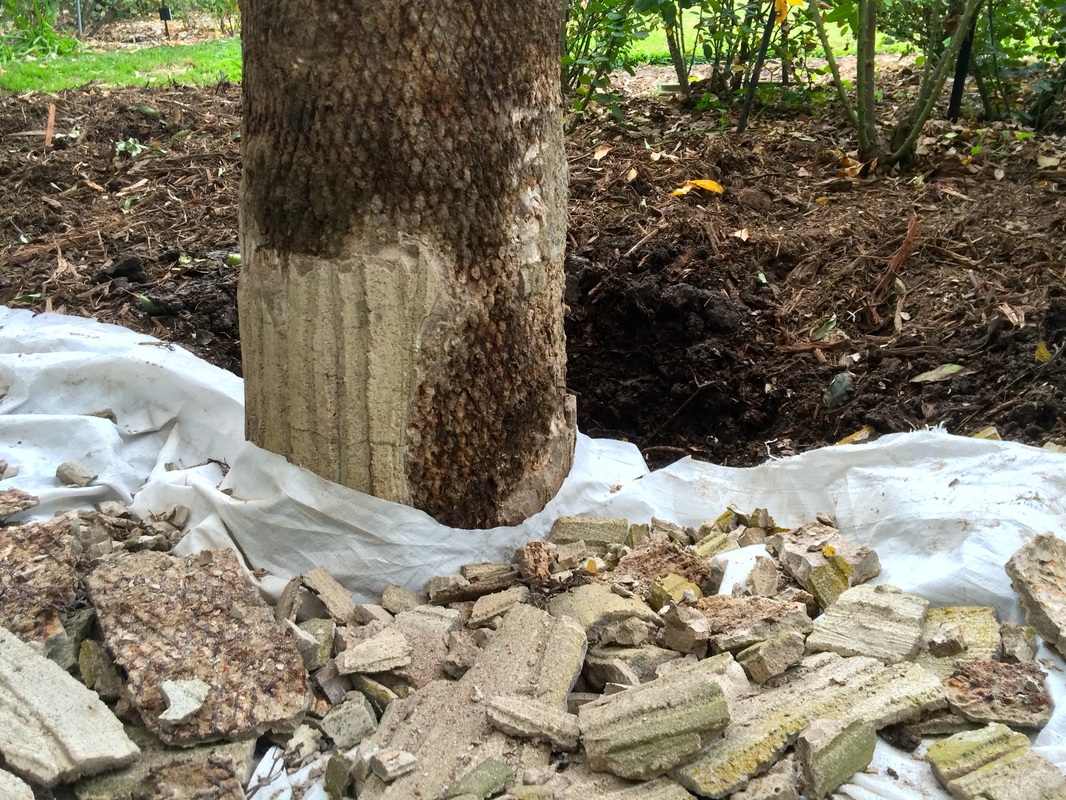
Step 1- Remove the unsound material.
Photo document the existing condition.
Tapping with a metal tool, listen for the hollow sound of decayed material.
The "sound" material "rings" and can not be chiseled off.
Remove "unsound" material that is not adhered.
Wash loose dust and dirt from the exposed inner surface with water.
Tapping with a metal tool, listen for the hollow sound of decayed material.
The "sound" material "rings" and can not be chiseled off.
Remove "unsound" material that is not adhered.
Wash loose dust and dirt from the exposed inner surface with water.
Expanded metal mesh was patented in England by John French Golding
in 1884.
in 1884.
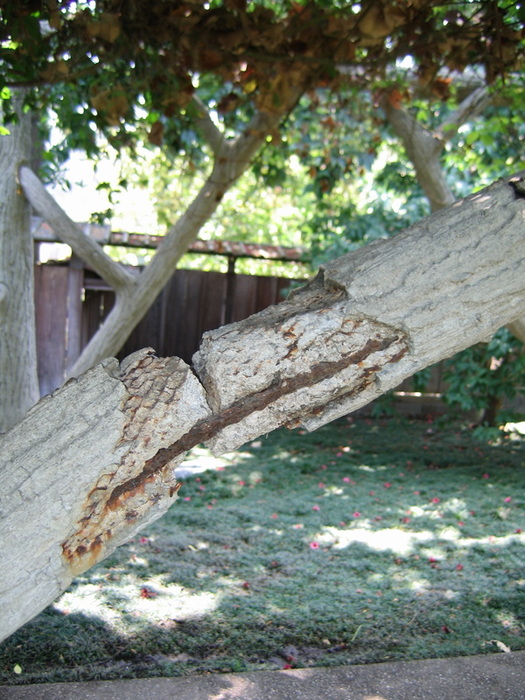
The rebar is a twisted square steel bar.
It was twisted to provide interlocking strength with the concrete.
Modern rebar is made with deformations (bumps) for the same reason.
Then, a mesh "basket" was wired into place and filled with a fairly dry, stiff concrete mix.
This technique created voids for water to be trapped which can rust the steel in some places as the structure absorbs moisture.
Finally, the outer layer of grout was applied which was sculpted while it was wet and soft to create the wood effects.
Step 2- Treat the rusting metal
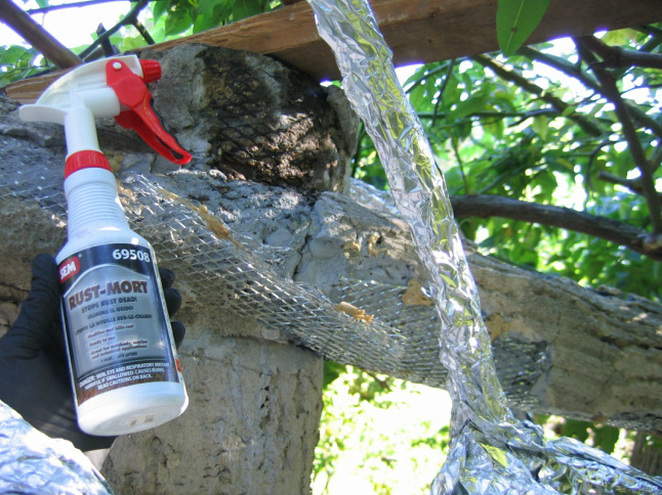
First, treating the rusting steel with Phosphoric Acid will arrest the rust.
This also cleans and etches the concrete without damaging it.
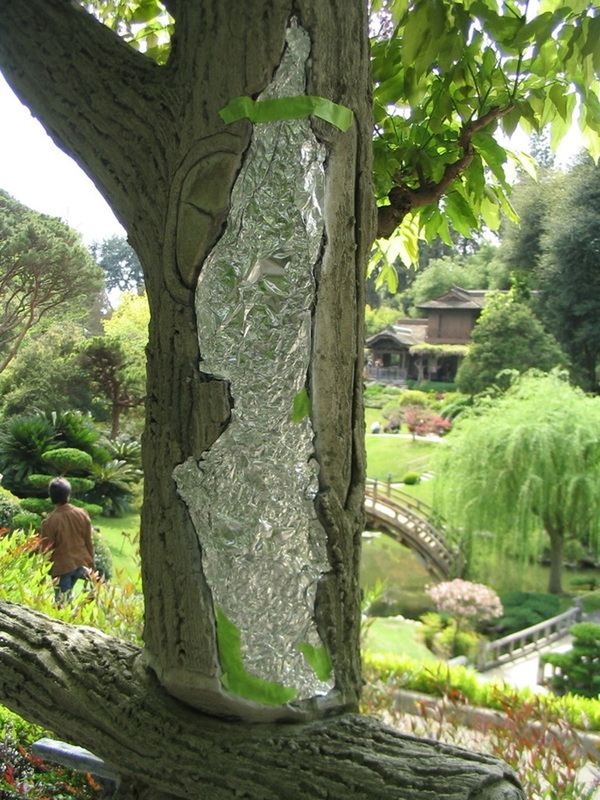
The plant material is masked with foil to protect it from the acid.
This also cleans and etches the concrete without damaging it.
The plant material is masked with foil to protect it from the acid.
A faux bois tree after it's metal treatment.
Phosphoric acid is followed by an aerosol self-etching primer.
Phosphoric acid is followed by an aerosol self-etching primer.
Step 3- Fasten a support mesh
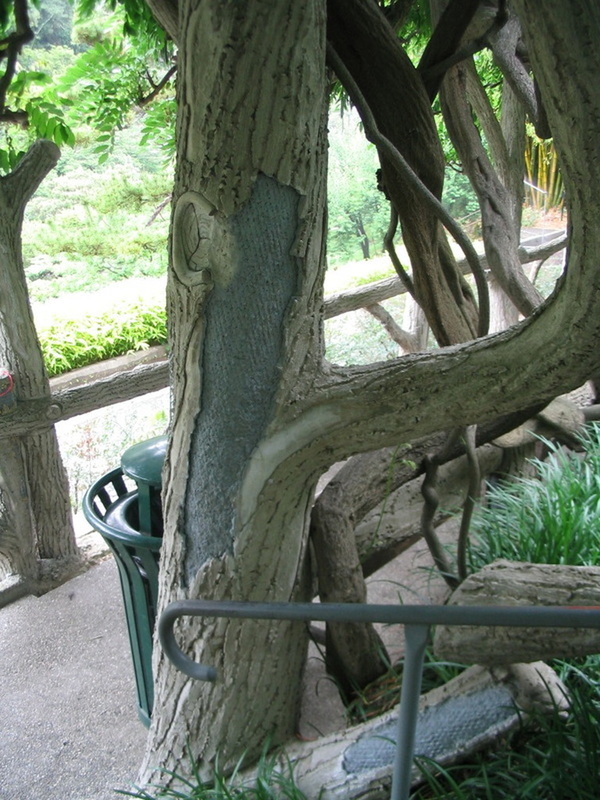
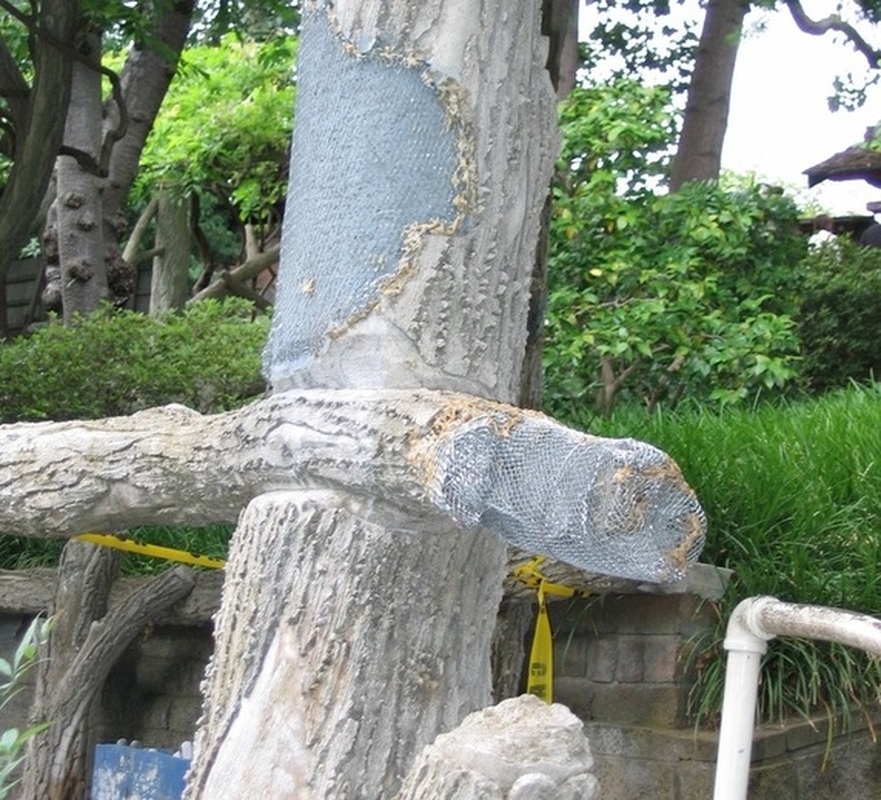
Make a pattern with foil to transfer the shape to new galvanized metal lath.
Spray Adhesive will hold the foil to the mesh, then I cut around the foil pattern.
Fasten the mesh shape to the structure with building adhesive.
This will support the wet mortar applied next.
Dots of building adhesive are used to hold the mesh in place before the next step....
Step 4- Fill the mesh with mortar
Fill the mesh with acrylic fortified mortar
Be careful to avoid leaving any voids or air pockets.
This is accomplished by tapping the wet mortar with a scrub brush. This will leave the surface rough to prepare it for the next step.
Be careful to avoid leaving any voids or air pockets.
This is accomplished by tapping the wet mortar with a scrub brush. This will leave the surface rough to prepare it for the next step.
Before restoration, this handrail shows the exposed reinforcing bar...a twisted square steel bar.
This type of rebar was patented in the United States by Ernest L. Ransome in San Francisco in 1884 and was commonly used into the early 1920's.
It is described as the first "true" rebar because it creates a "lock" with the concrete surrounding it, adding to the overall strength. This was a revolution in the advancement of reinforced concrete.
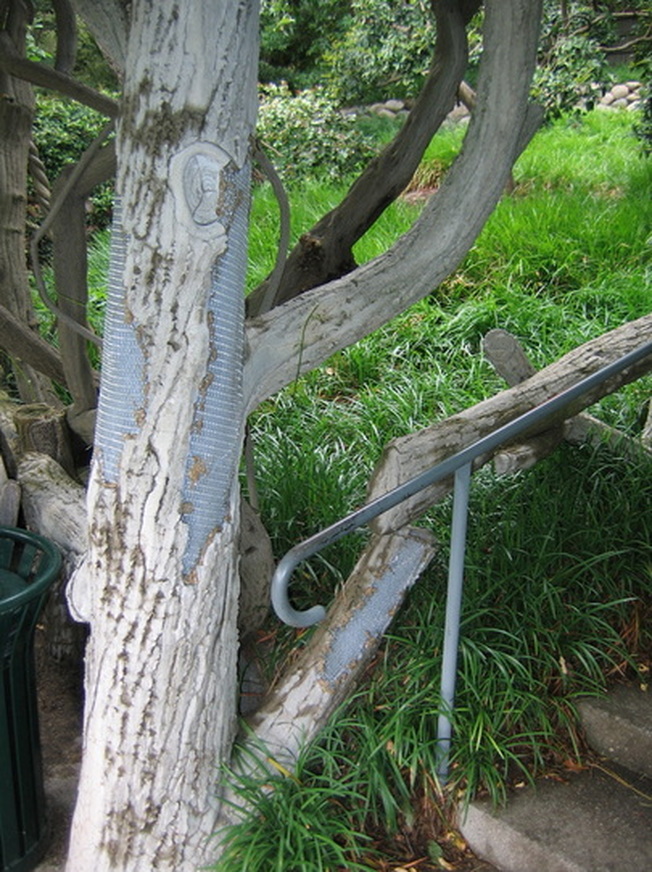
The failed area is prepared with a metal treatment of phosphoric acid to arrest the rust.
Next it is spray painted with an aerosol etching metal primer.
Then it gets galvanized metal mesh (called "diamond lath) fastened with building adhesive.
Mortar is placed into the mesh until it is completely filled.
Next it is spray painted with an aerosol etching metal primer.
Then it gets galvanized metal mesh (called "diamond lath) fastened with building adhesive.
Mortar is placed into the mesh until it is completely filled.
5. Sculpt the final surface
Mix acrylic fortified grout into a paste and apply.
Industrial Grout is a finer sand than mortar and sculpts with better detail.
Sculpt while the material is still wet and soft.
Industrial Grout is a finer sand than mortar and sculpts with better detail.
Sculpt while the material is still wet and soft.
The realism is created from gestures into the mud.
It is improvisation.
The less I think about making shapes or textures, the more "natural" it appears.
My best work is a dance reacting to the material, with less intent toward making something specific.
When it succeeds, it comes from knowing when to leave it alone.
My technique for creating bark effects?
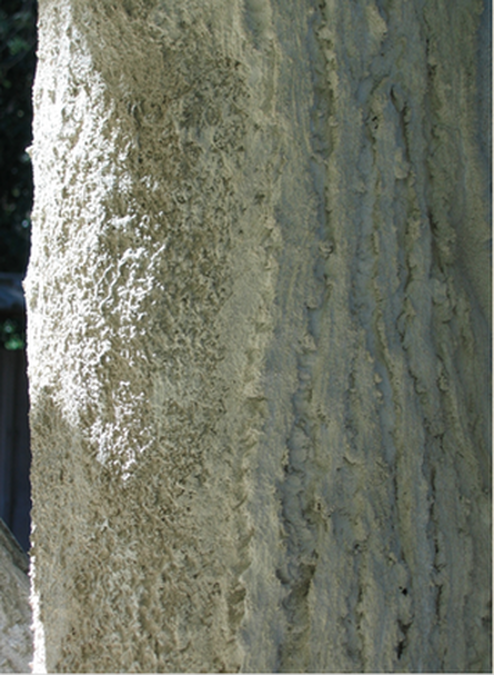
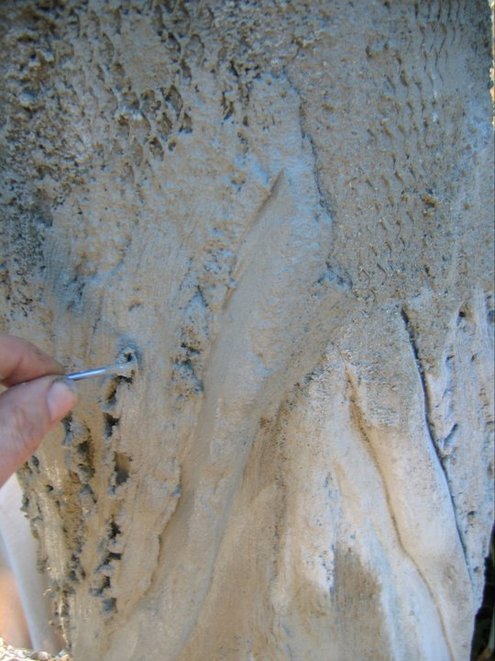
The head of a roofing nail is used to make grooves with ragged edges.
Common tools I use to create textures are:
cake decorator bags, stiff brushes, a table fork, small trowels & knives,
and my favorite discovery:
A ROOFING NAIL !
Using the head of a nail was a very substantial discovery that I made in the early months of the project.
I puzzled over how the original artist created such a distinctive bark texture.
While studying the removed pieces, the cross-section view revealed a "T" shape in the grooves.
I realized nothing but the head of a nail could have made that pattern.
I was excited the next day with my new "tool".....I had unlocked a ninety year old secret!
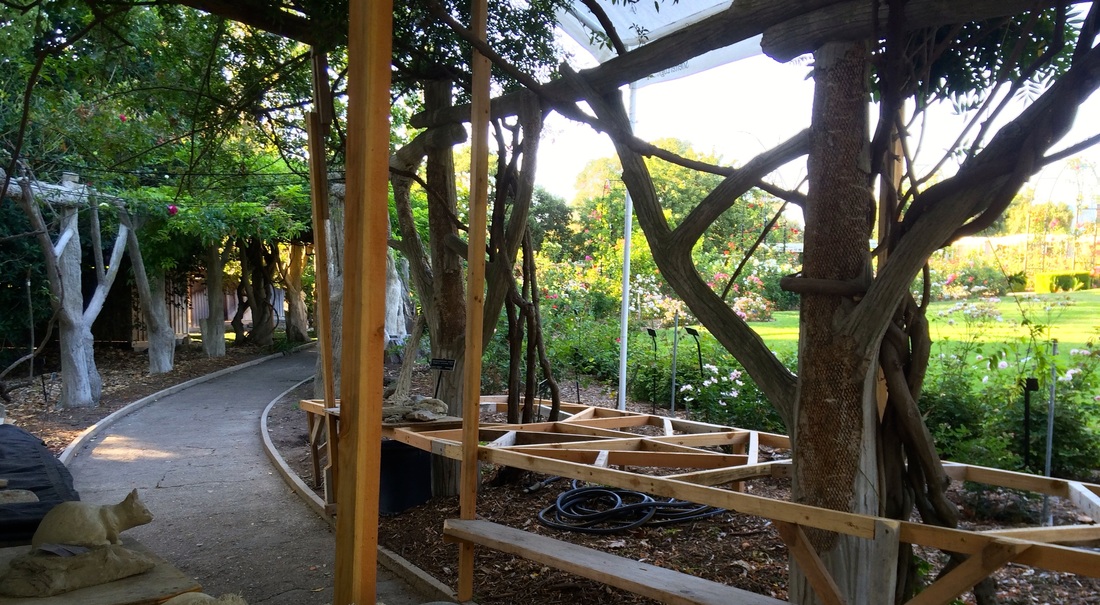
The collection has 100 "trees".
Eighty-Five of them having a distinctive bark design that is very natural and realistic.
I call it the work of the Master and have learned to copy it.
The other 15 have a pattern that is more simplified.... I have called it the work of the Apprentice.
We have no recorded names for either of them.
I've become the new master finishing what they started.
I can hide the apprentices work with new work that copies the Master's techniques and the collection will become a consistent "species".
Discovering my own tools and techniques,
I try to embody the Masters skills.
I am blending the appearance of the new work to the old.
I'm a team member, finishing what they started a century later.
Now, understanding what made it fail, I can repair and correct it.
I'm saving the sculpture from the first hundred years for a long future.
I try to embody the Masters skills.
I am blending the appearance of the new work to the old.
I'm a team member, finishing what they started a century later.
Now, understanding what made it fail, I can repair and correct it.
I'm saving the sculpture from the first hundred years for a long future.
6. Matching the color
Mix an acrylic flat clear with tints and water to make a stain.
Applying it with spray bottles, it soaks in and increases the contrast of details.
Lighten the darkened area with a non-sanded grout color that matches the lightest tones of the old original work.
This is done by dry brushing highlights onto the raised textures.
Applying it with spray bottles, it soaks in and increases the contrast of details.
Lighten the darkened area with a non-sanded grout color that matches the lightest tones of the old original work.
This is done by dry brushing highlights onto the raised textures.
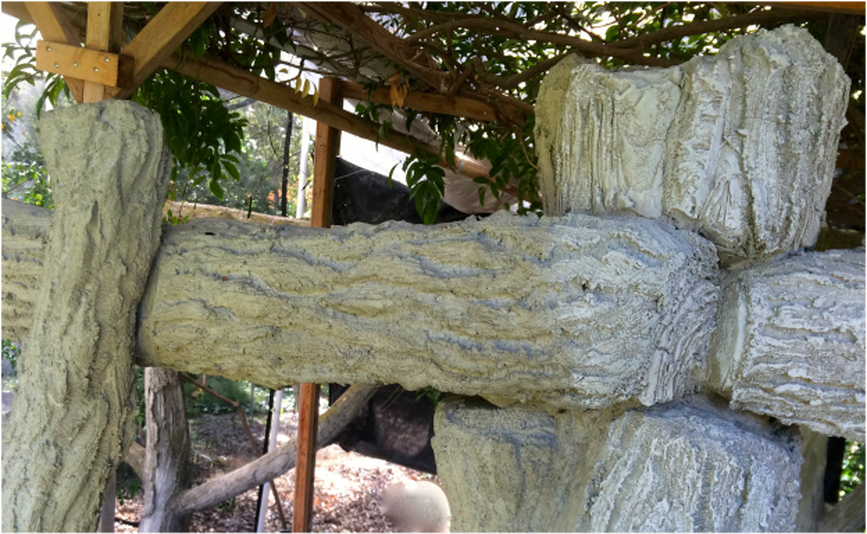
Notice the newly sculpted work on the upper part of this tree without stain.
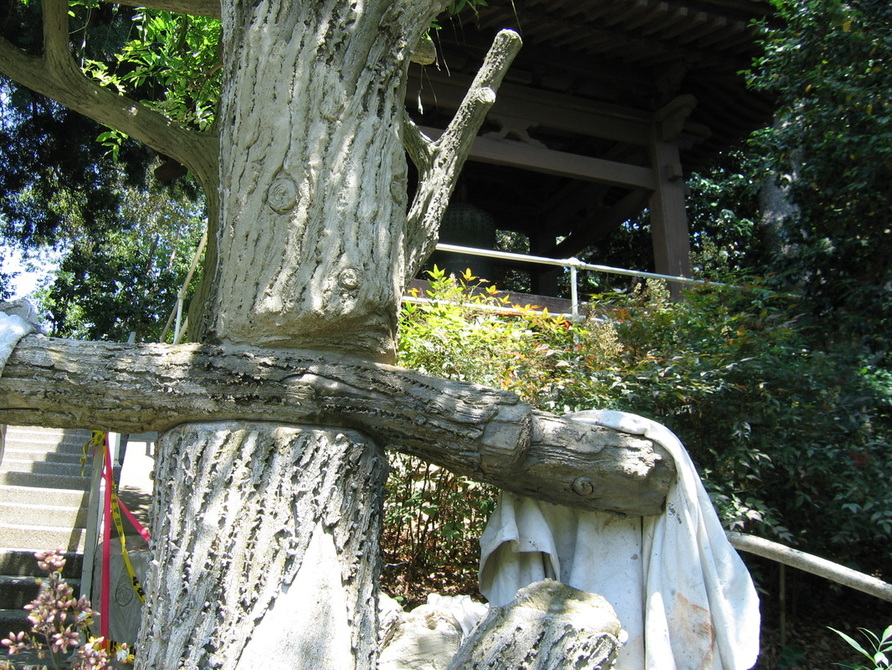
The horizontal branch has been stained and will get dry brushed highlights using a slurry of non-sanded grout to blend in the lightest tones of the surrounding original work.
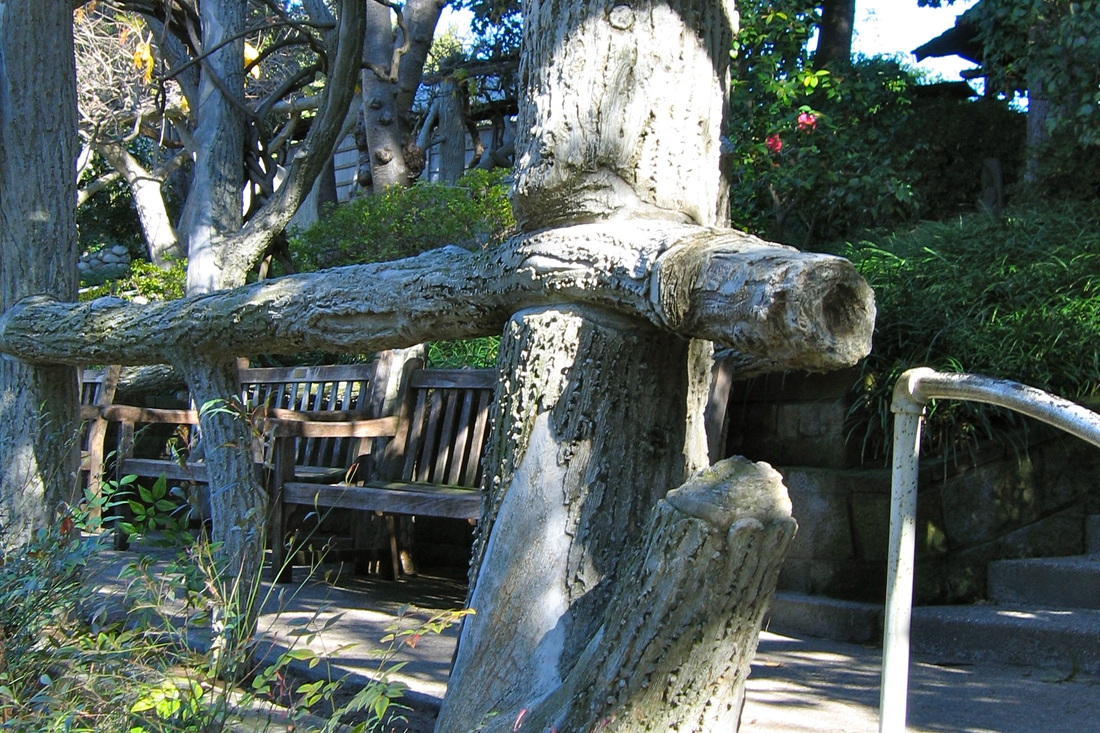
The final result is the next photo.
The horizontal branch has been stained and will get dry brushed highlights using a slurry of non-sanded grout to blend in the lightest tones of the surrounding original work.
The final result is the next photo.
